Are product photos important to your business’s online success? According to WordStream, 93% of consumers consider visual appearance to be the key deciding factor in a purchasing decision. Let’s discuss how to upgrade your online shop’s product photos so your aesthetic exudes professionalism and you start to convert viewers to customers!
Step One: Get Inspired
Consider the adjectives you want to come to mind when people see your products. Words such as: clean, trustworthy, high-quality, professional or valuable might be first on your list. Think about the visual cues that lead people to create these associations. Is it the white background? The straight lines? The consistency from one image to the next?
Research your competitors. Visit their websites, inventory pages, social media accounts and more. Take detailed notes regarding what makes their product photos successful. Some things to take note of include:
- Backgrounds
- Color scheme
- Lighting
- Props
- Consistent qualities across photos
- Angle
- Quantity of products in each shot
- Variety
Ultimately, you want to document what works and what doesn’t so that you can replicate their successes in your product photos. It is also crucial to keep your target audience in mind. If you have a rugged outdoorsy brand, consider shooting in the woods or picking earthy tones. If you sell makeup, choose a set of colors that well-represent the tones and colors of your palettes to use across all the photos you take.
As stated by Big Commerce, “Everything in an image — quality, subject matter, color theme and saturation — should speak in a uniform voice that resonates with your target audience.”
Step Two: Decide On A Light Source
According to the experts at WordStream, “Natural lighting can work really well for product photographs featuring edible items, people, and clothing, and these natural looking photos can work well in social media contexts, like Instagram.”
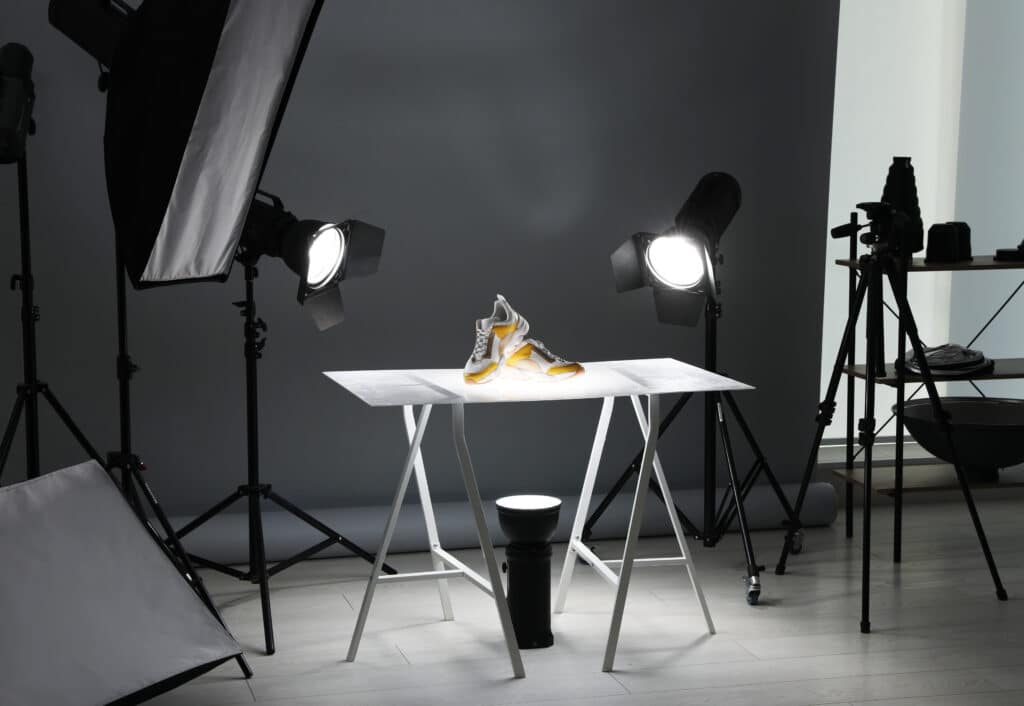
There are many options to light your product photos.
- Outside (early morning or late afternoon, and slightly overcast days are the best)
- Windows (large windows are ideal)
- Artificial lighting
It is generally recommended to use artificial lighting if your product is an indoor product, such as furniture, cooking utensils, wall art, etc. This will allow customers to see the product in its natural habitat.
Once you decide which light source best suits your needs, play around with different angles and distances from the light source. Mastering lighting is crucial to the overall feel and quality of your product photos.
For more detailed advice on how to light your products, check out this article.
Step Three: Set The Stage
The best thing you can invest in for your product photography is a sweep. HubSpot articulates the purpose of a sweep well:
“A sweep is a large bendable sheet of paper, whose bottom acts as the surface beneath your product and then curves up into a white wall behind the product. On camera, the sweep’s curve is invisible, emphasizing key product details and allowing the item to own all of a website visitor’s attention.”
You can either invest in a sweep, or if you are really on a budget, buy some white poster board at your local craft store. Pro tip: pure white works better than off-white paper.
In addition to your shots with a plain background, use real world backgrounds — these serve as context and lifestyle shots. Show people wearing, touching, using or holding the object. Take photos of the product in diverse settings; for example, if you sell shoes, show the shoes being worn indoors, in the rain, out on a run, on a hike, etc. This will help the customer envision the usefulness and versatility of your product. Lifestyle shots can also add an emotional element to photographs that product shots alone lack. You never know which type of image will strike a chord with any given person, so the more the merrier!
Another idea is to solicit photos from customers and feature those images. Run a contest or post on social media calling for customers to send in their best shots with your product! This adds a layer of authenticity and trust to your images, in addition to building customer loyalty.
Step Four: Set Up Your Shot
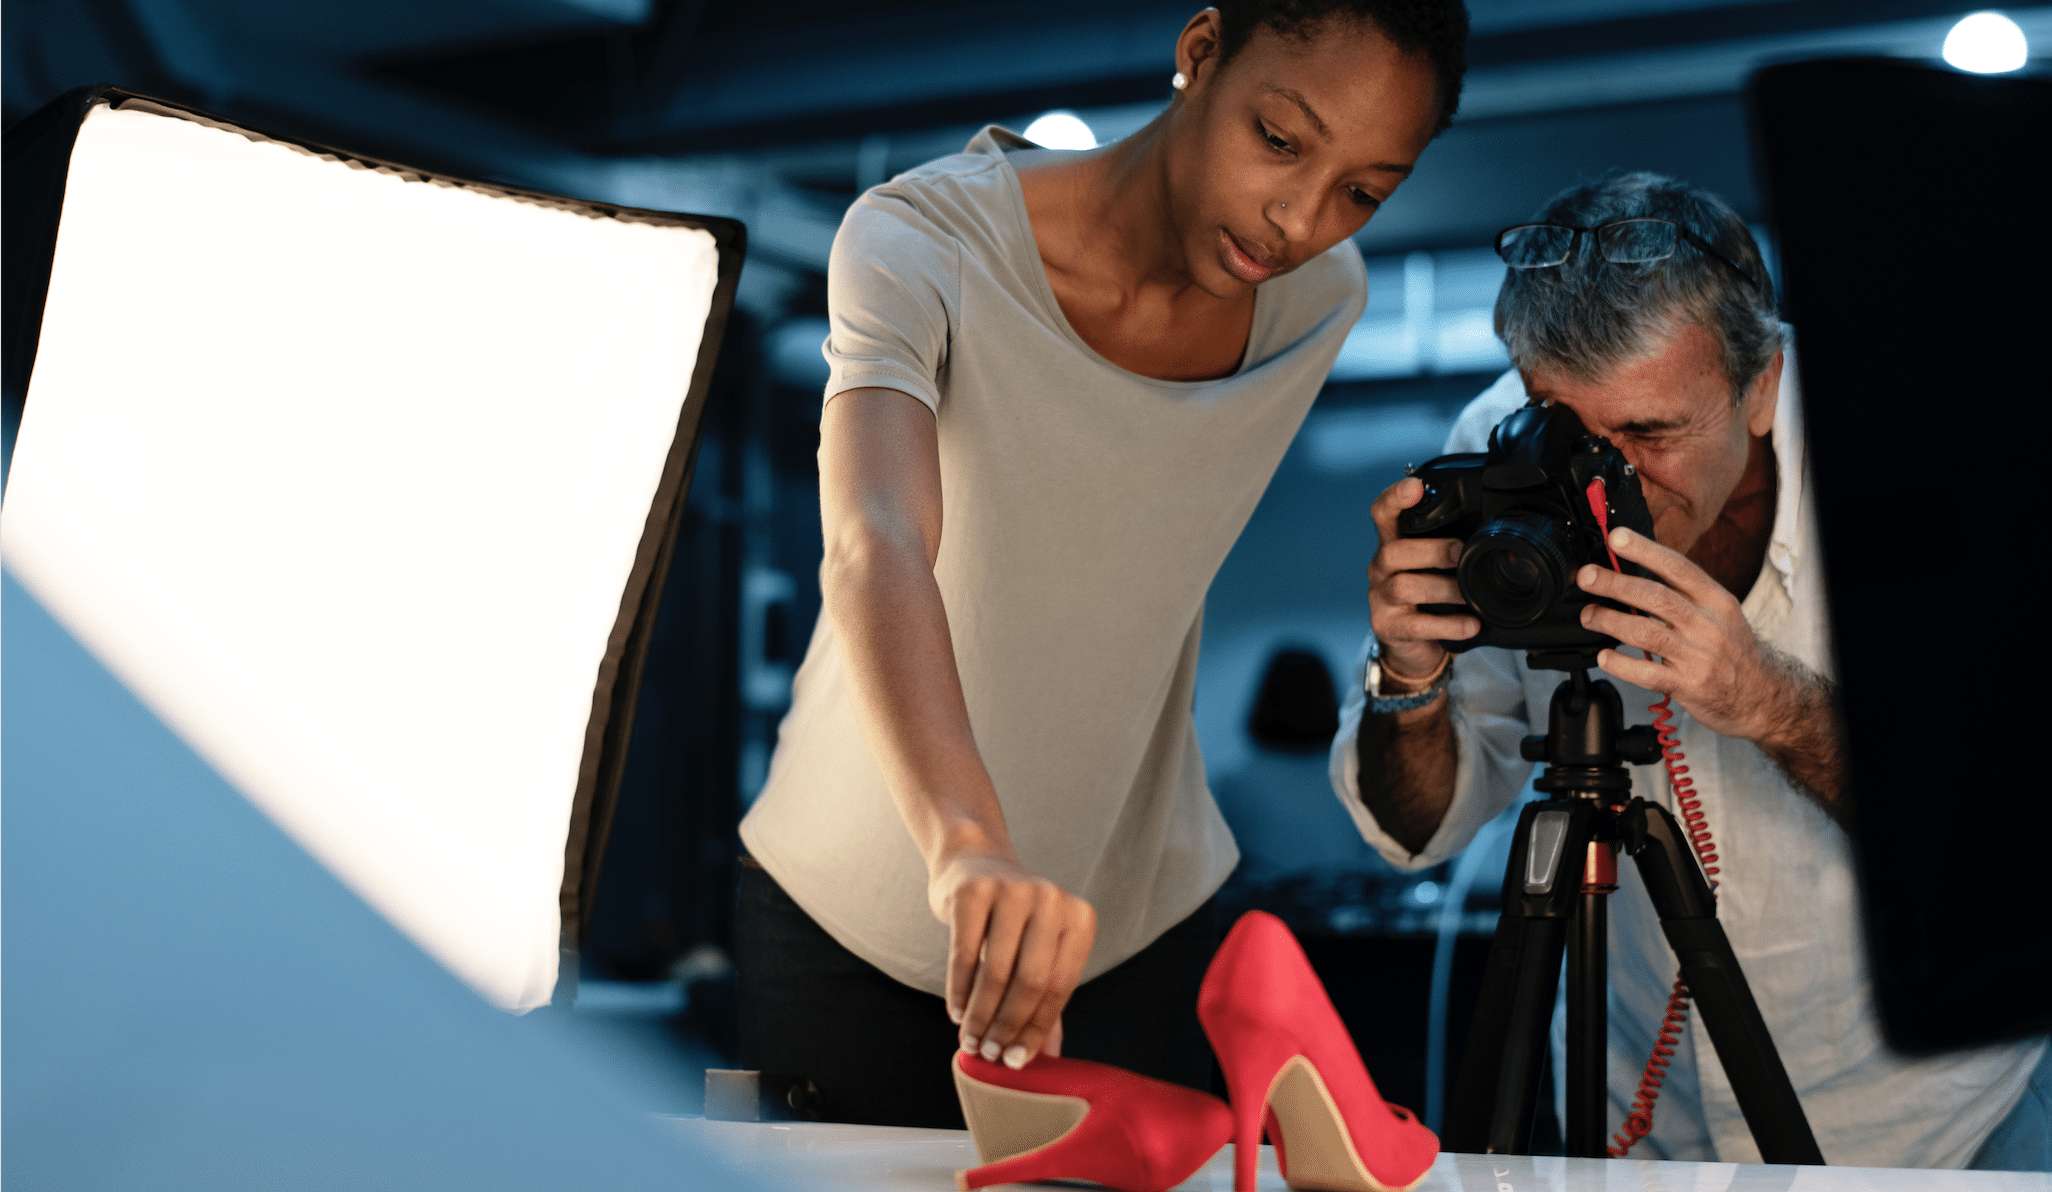
It is universally recommended to invest in a tripod, whether you are shooting with a camera or a smart phone. This serves not only to reduce shake and blur, but it also allows for consistency between shots. For example, you can set up the camera and then leave it stationary while you rotate which products are being photographed.
Props are also a great way to contextualize your products and add texture to images. The golden rule is this: less is more. The last thing you want is your props to be so distracting that it isn’t clear which is the product!
Step Five: Use The Rule of Thirds
Once you set up your stage, it’s time to decide where to place your product. According to WordStream, “The rule of thirds was designed to help artists create a well-balanced composition in each piece. It’s also useful to determine where to place the focus of your piece – your product. Your goal is to have your product positioned along the lines, optimally at the point where two lines intersect.”
Take note of where you place your product, as you can take the same shot while rotating different products in order to stay consistent.
Step Five: Go For Quantity
When you’re finally ready to go, don’t be shy! Take a lot of product photos. You can always delete them later. Plus, when it comes to planning content for social media, you will thank yourself later!
Remember to vary the angles of the product images. Include images that are extreme close ups to showcase details and functions of your product. You can also take photos with a lot of background space in order to create diagrams and break the image down into parts in editing.
Another way to shake up the photoshoot is to include multiple products in the same photo to show variety and indicate how the products complement each other.
Step Six: Retouch Your Product Photos
Don’t skip on retouching your photos. Use the basic features of your computer or phone to adjust brightness, saturation and more. The goal is to enhance the existing image, not change it entirely. The cropping feature allows you to use the rule of thirds to place your product in the frame or center it perfectly.
There are a host of free online resources available to you in order to edit your own photos. One of our favorites at Three Girls Media is Canva, which allows you to crop, edit, add shapes, fonts and more to your photos. This also allows you to create graphics for social media using your own product images.
If editing isn’t your thing, professional retouching can be surprisingly affordable.
According to Shopify, “for $3-5 an image, you can have a professional retouching company improve your images for you. Finding a good company can be tough, but Pixelz is one of my favorite options. Their software allows you to upload and manage your retouching from start to finish. Prices start at $1.45 per image with a $25 minimum, but you get three free test photos to start.”
Now that we have covered the basics, let’s talk about how to make your photos stand out from the crowd.
Types of Product Photos
- Product Photos With A Simple White Background
This shot should be well-lit with a white background and strategically centered in the frame. The best way to achieve this is by keeping your camera stationary on a tripod and photographing each product by placing them on the same pre-measured mark for every shot. Take many product photos from different angles and levels of detail in order to create a carousel of images for buyers to scroll through.
- Product Photos To Show Scale
These shots should show someone wearing or holding the product or placing the product next to an object for scale. In some cases, you can even just place a small object next to a ruler so as to visually represent the size.
- Multi-Product Photos
Taking product photos with multiple items in one image has many benefits. It can show cohesion and brand consistency, show the same object in a variety of color options, or just encourage buyers to buy multiple! Showing choice is always a great idea, since it adds variety and encourages browsing.
- In-Context Product Photos
Don’t forget to get creative. While white background product shots are perfect for the webpage, social media requires more personality. Create photos with movement, emotion and engagement to draw viewers in. By showing how they could be using your product to better their lives, they will be more inclined to hit that “purchase” button!
- Staged Product Photos
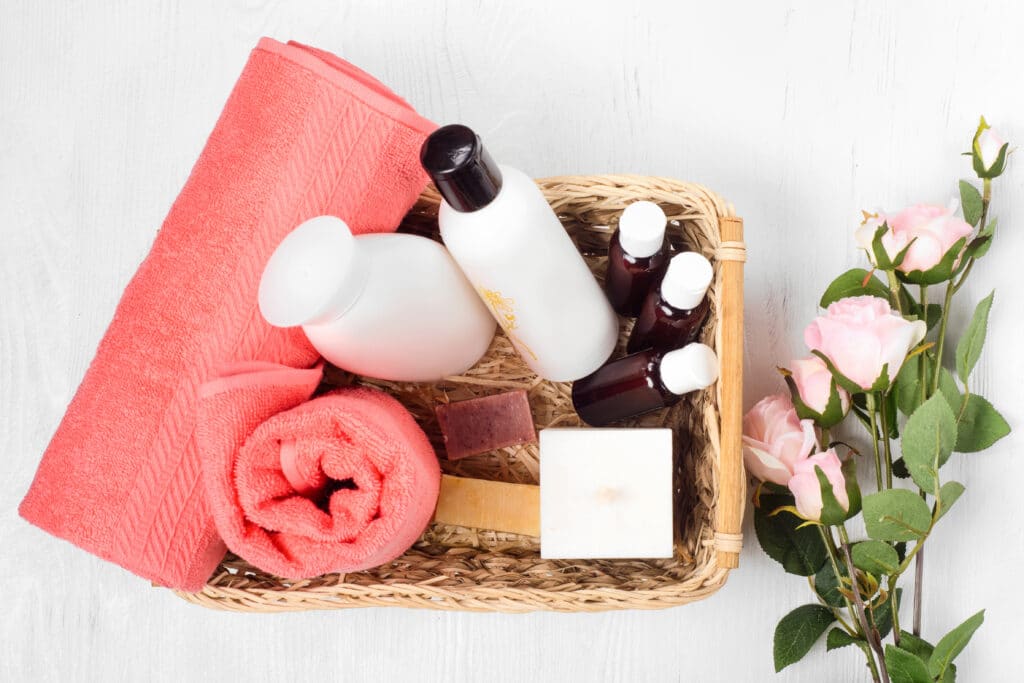
Small stages can be the perfect opportunity to highlight a product without having the background be too distracting. For example, if you sell cookware, show your product with other relevant objects such as a toaster or on the stovetop. The key here is balance: you don’t want the set to be so busy that it is confusing which product is yours!
How Do You Get Product Photos To Stand Out?
- Hanging products or suspending them for depth and level differentiation is an outstanding way to showcase a product in a one-of-a-kind way.
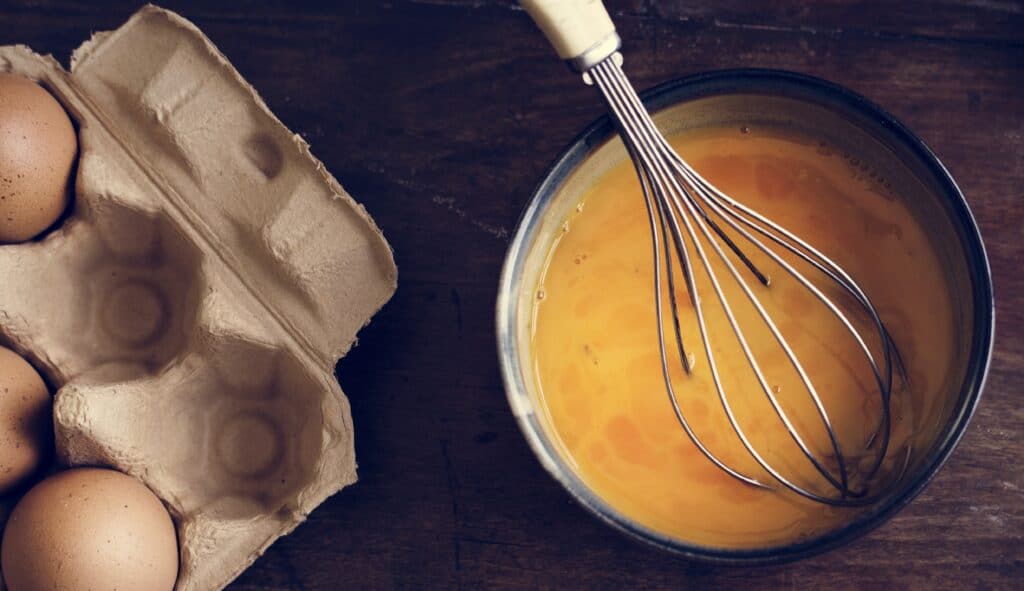
- Take an extremely detailed or zoomed photo or use an angle such as bird-eye view or shooting from underneath the product for something unexpected.
- Shoot on a reflected surface. Reflect the product by using a shallow pool of water or on top of a shiny surface.
- Take engaging images of people using your products that show a lot of personality and character.
Did you know that visuals communicate information 60,000 times faster than text? Humans are hardwired to process imagery. This means that while product photography can seem overwhelming, it is more than worth the investment of time.
Hubspot highlights the ever-increasing importance of online storefronts: “According to Trellis, 51% of Americans with internet access prefer to shop online, and that segment of buyers is poised to keep growing…To reach the 51% of people who do prefer buying online, you also need to give your audience clear, eye-catching photos of your products, or these visitors aren’t likely to have confidence in your offerings ― confidence they can get by walking into a store and seeing the item in person.”
If you’re looking for more guidance, check out more of our articles offering helpful advice:
- Your Guide to Video Production for Social Media Marketing
- How To Create A Cohesive Brand Image On Social Media
- The Best Tips For Setting Up A Photoshoot
Conducting photoshoots will undoubtedly pay off in the long run. If you want to set up a photoshoot with us or have questions about marketing, PR or social media, contact us at Three Girls Media for a complimentary consultation. We have a full staff of seasoned marketing professionals who are eager to help you reach your marketing goals.
Special Offer:
Sign up for a complimentary consultation during December and receive an Annual Marketing Planning Guide valued at $475! We offer a 30-minute phone consultation with our CEO, and can answer your questions and discuss your specific marketing needs - no strings attached. Call 408-218-2391 or contact us today to arrange your consultation!

